Seal the Deal: Easy Steps to Replace Your Diesel Injector Seals
Why Diesel Injector Replacement is Critical for Your Fleet

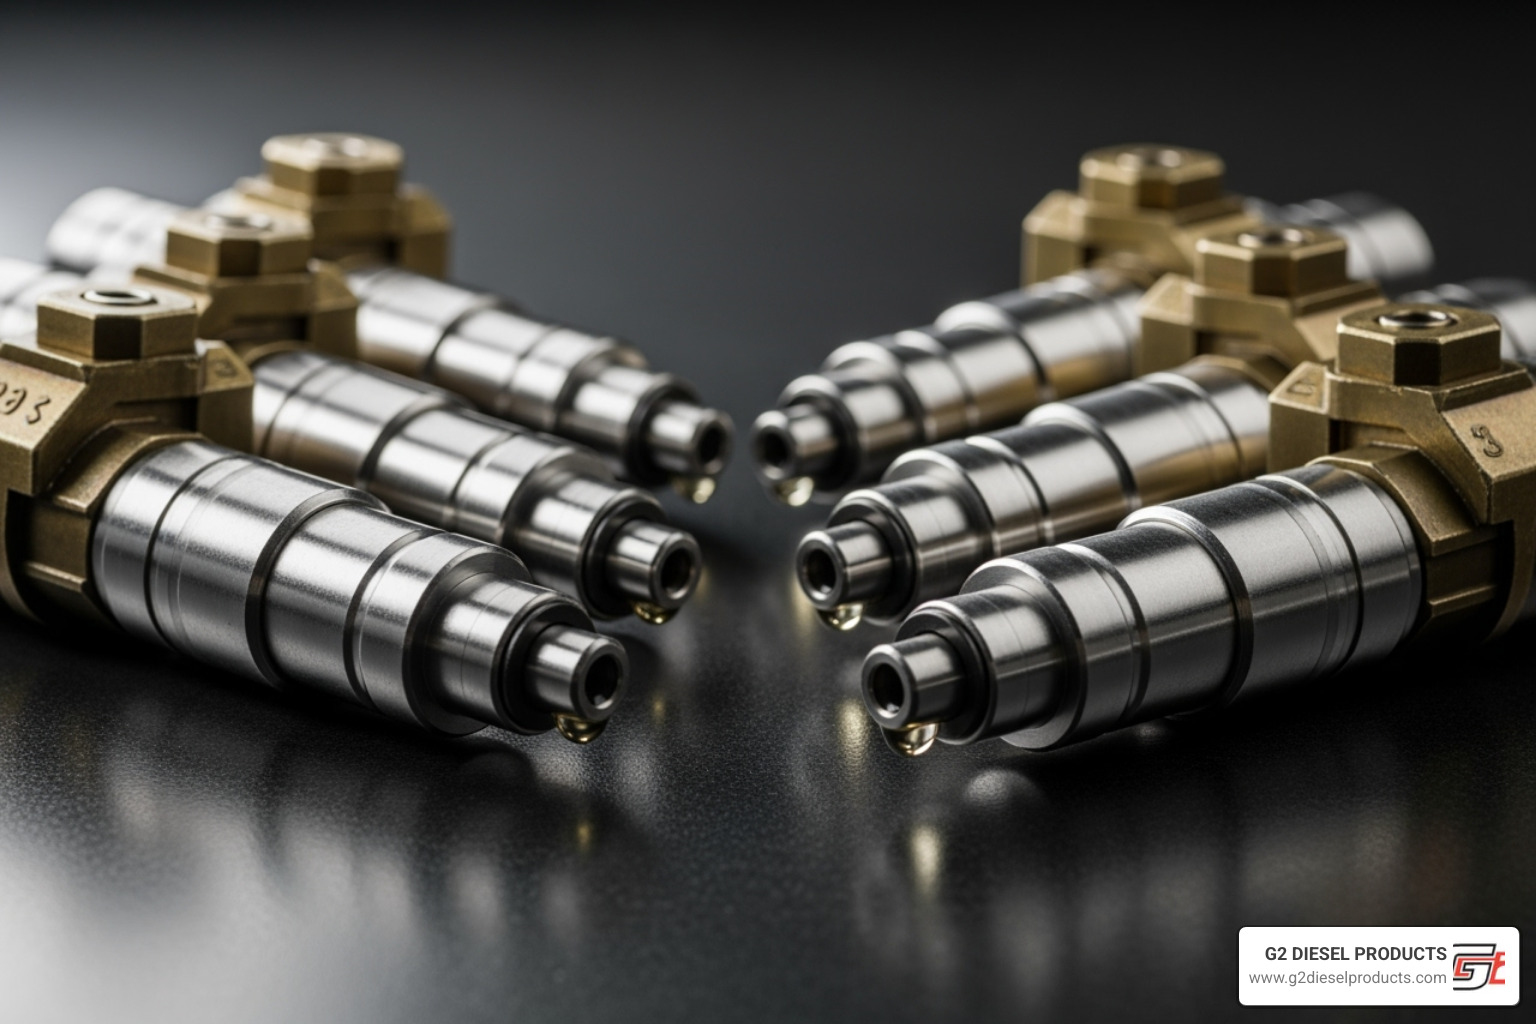
Understanding how to replace diesel injectors is a vital maintenance skill for any fleet manager. These components are critical to engine performance, operating under extreme temperatures and pressures up to 30,000 PSI. After 150,000 miles, an injector has cycled over 300 million times, making wear and tear inevitable.
Quick Answer: How to Replace Diesel Injectors
- Disconnect the battery and relieve fuel system pressure.
- Remove engine covers and disconnect fuel lines.
- Extract old injectors using a proper puller tool.
- Thoroughly clean injector bores to remove all carbon buildup.
- Install new injectors with fresh O-rings and copper washers.
- Torque all components to manufacturer specifications.
- Prime the fuel system and check for leaks.
Failing injectors cause rough idle, poor fuel economy, misfires, and excessive smoke. Since injectors wear at a similar rate, it's best to replace them as a complete set to prevent future downtime and potential engine damage. While shops charge significant labor fees, this job can be done in-house with the right tools and a focus on cleanliness.
For Volvo, Mack, Kenworth, and Paccar trucks, the process is fundamentally the same, requiring careful preparation, execution, and reassembly.
Before You Begin: Diagnosis, Tools, and Safety
This section covers the essential groundwork needed before starting the physical work, ensuring you have the right diagnosis, tools, and safety measures in place.
Recognizing the Symptoms of Failing Injectors
Before starting, confirm you're dealing with failing injectors. Key symptoms include:
- Rough Idle: An irregular, shaky engine feel at idle.
- Misfires: Sudden stumbles or hesitations under load.
- Decreased Fuel Economy: The engine works harder and burns more fuel.
- Excessive Smoke: Black smoke indicates over-fueling, while white smoke can mean unburnt fuel.
- Fuel Smell in Oil: A serious sign of an injector stuck open, which can dilute oil and destroy the engine.
- Hard Starting: The engine cranks excessively before firing up.
- Engine Knocking: Caused by fuel igniting at the wrong time.
For more detailed diagnostics, see our guides on diesel fuel injector problems and how to check common rail injectors.
Essential Tools and Parts for the Job
Success with how to replace diesel injectors starts with having the right equipment. Gather these items before you begin:
- Hand Tools: A comprehensive set of wrenches, sockets (including deep sockets), screwdrivers, and pliers.
- Torque Wrenches: Both inch-pound and foot-pound versions are mandatory for this job. Do not guess on torque values.
- Specialty Tools: Fuel line disconnect tools, an injector puller (slide hammer type is recommended), and injector bore cleaning brushes/carbon reamers like the carbon reaming tools.
- Cleaning Supplies: Compressed air and clean, lint-free rags.
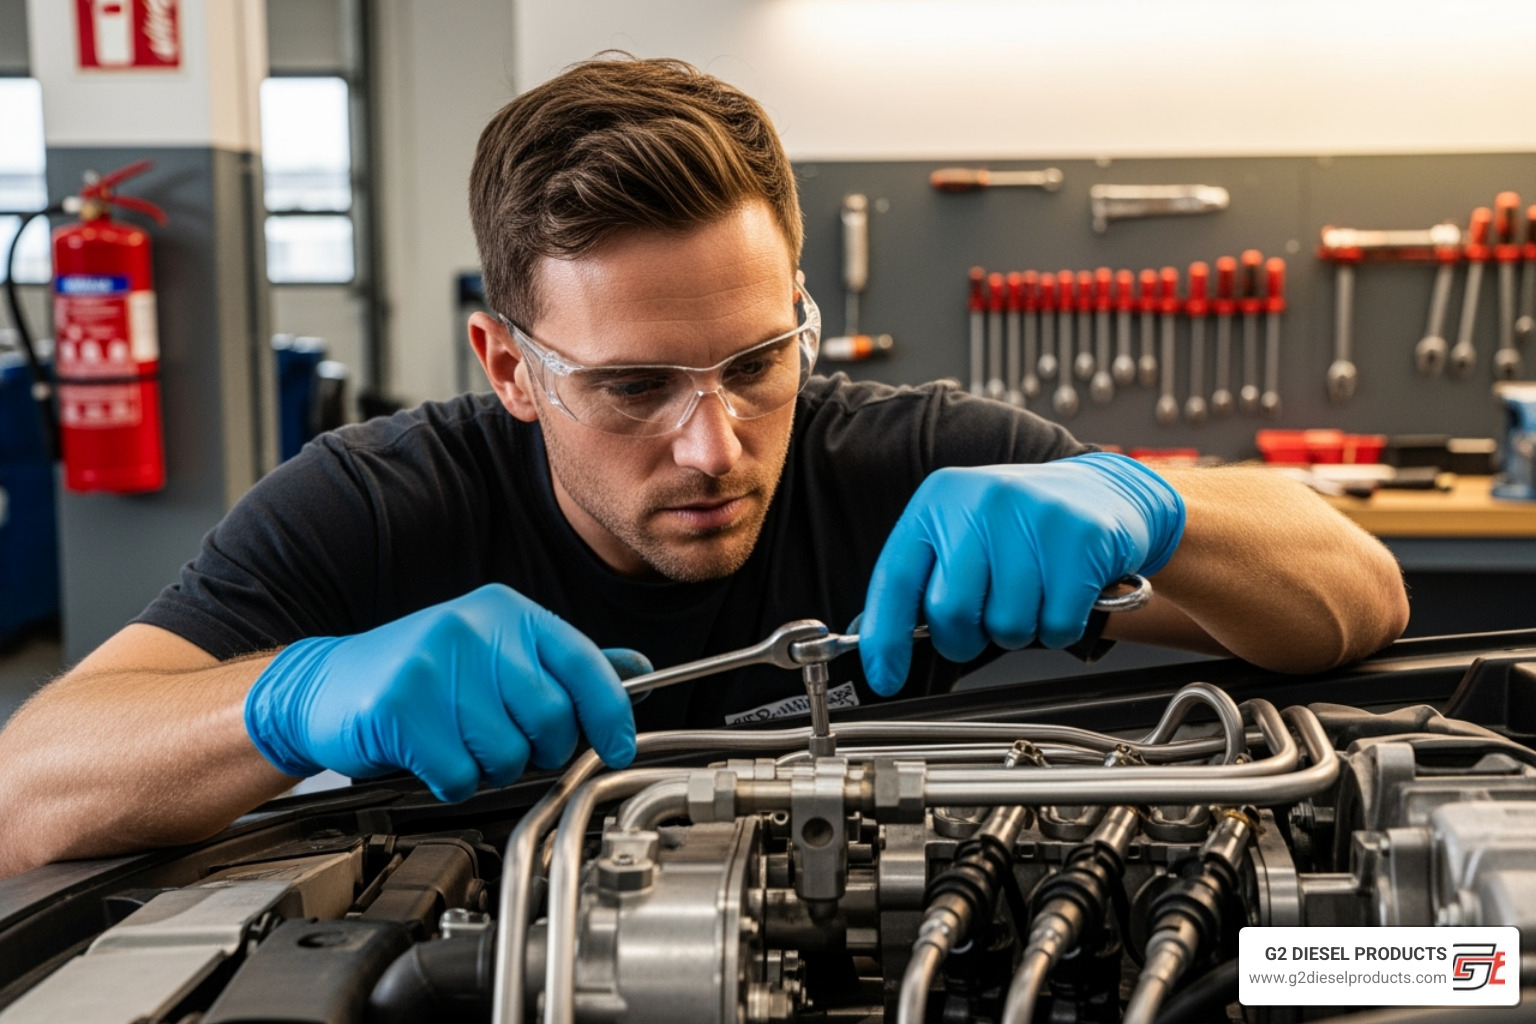
- Safety Gear: Safety glasses, chemical-resistant gloves, and a fire extinguisher.
- Replacement Parts: A complete set of new fuel injectors, new copper washers, new O-rings, and potentially new connector tubes for common rail systems. Find what you need in our guide to fuel injector replacement parts.
Critical Safety Precautions
Diesel fuel systems operate under extreme pressure and demand respect. Follow these safety rules without exception.

- Disconnect Batteries: Always disconnect both negative battery cables first.
- Cool Engine: Work only on a completely cool engine to avoid burns.
- High-Pressure Hazard: Modern systems can hold up to 30,000 PSI. A pinhole leak can inject fuel through your skin. Never place hands near pressurized lines.
- Depressurize System: Follow the manufacturer's procedure to relieve all fuel system pressure before disconnecting any lines.
- Ventilation and Cleanliness: Work in a well-ventilated area and keep the workspace clean to prevent fire and slip hazards.
- Fire Safety: Eliminate all ignition sources (sparks, open flames) and keep a fire extinguisher nearby.
The Complete Guide on How to Replace Diesel Injectors
With diagnosis, tools, and safety covered, it's time to begin the replacement. This process requires patience and precision.
Step 1: Preparation and Disassembly
A successful job starts with thorough preparation. Do not rush this stage.
- Relieve Fuel Pressure: Allow the system to depressurize naturally after shutdown or use a diagnostic tool to confirm zero pressure. Consult the service manual for specific procedures.
- Clean the Engine: Pressure wash the engine bay beforehand and let it dry completely to prevent dirt from contaminating the fuel system.
- Remove Components: Carefully remove engine covers, valve covers (if necessary), and intake components. Take photos as you go to aid in reassembly.
- Disconnect Lines and Wires: Gently disconnect electrical connectors, labeling them if needed. Use proper tools to disconnect high-pressure fuel lines without bending or kinking them.
- Cap All Openings: Immediately cap all open fuel lines and ports with clean plastic caps to prevent contamination. This is a critical step. For more background, learn How electronic unit injectors work.
Step 2: Removing the Old Injectors (And How to Handle Stubborn Ones)
Injectors can be stubborn after years of service. Work methodically to extract them.

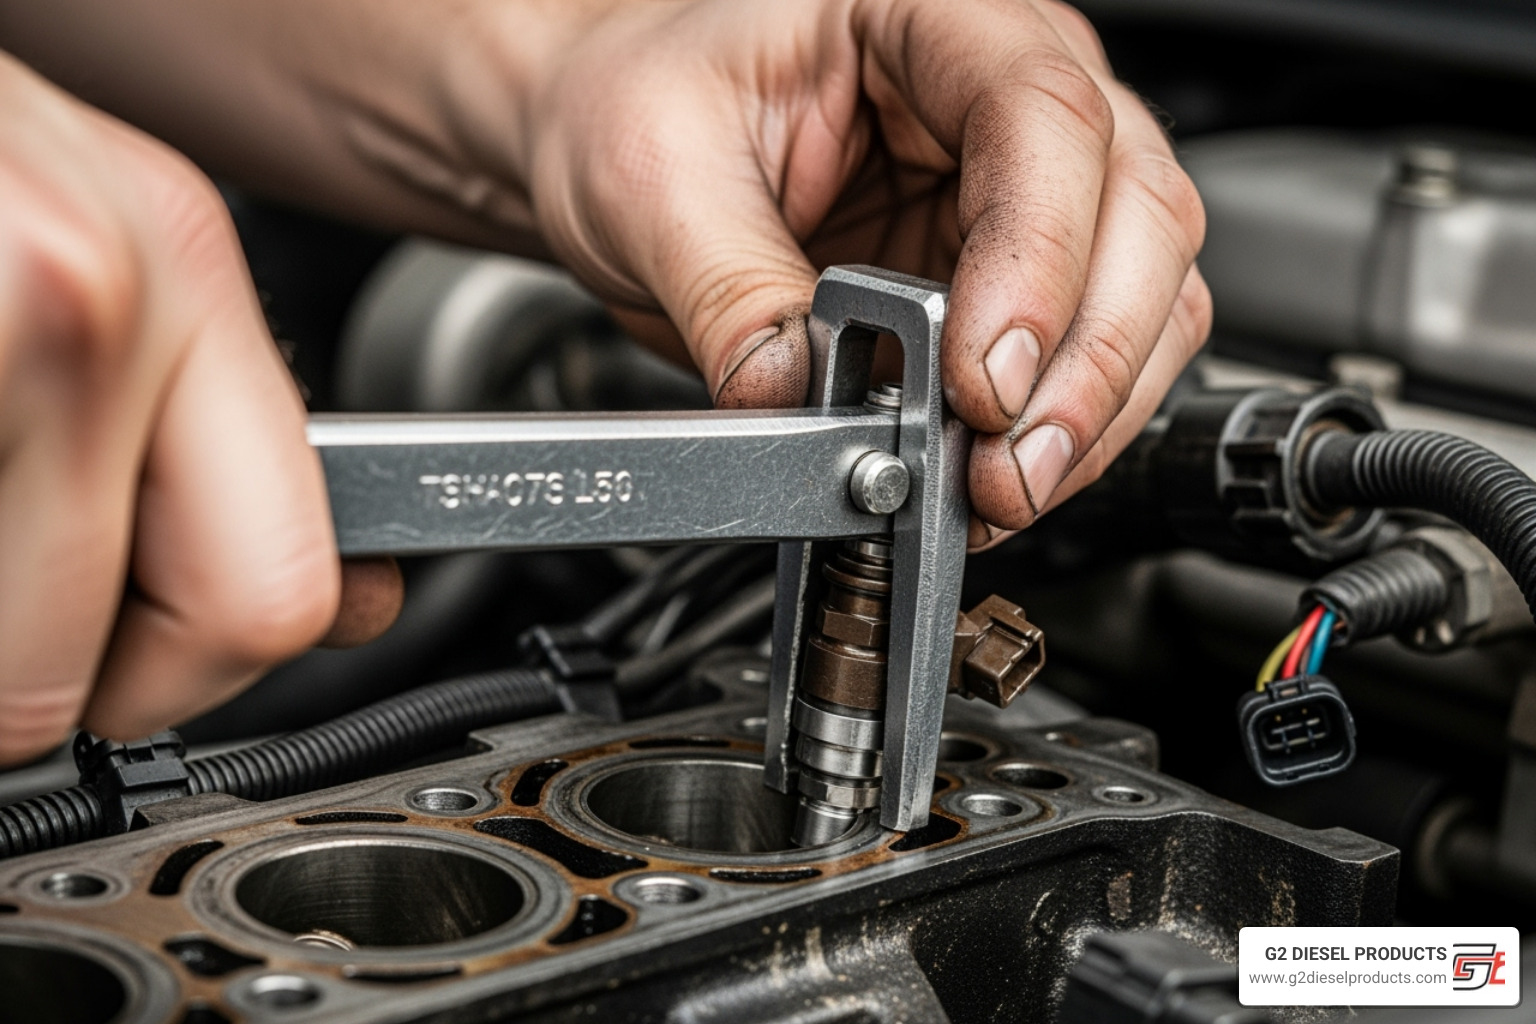
- Remove Hold-Downs: Unbolt the clamps or fasteners securing each injector.
- Use a Puller Tool: An injector puller (slide hammer type) is the best tool for the job. Apply steady, controlled force to extract the injector.
- For Stubborn Injectors: If an injector is seized, apply penetrating oil around its base and let it soak. Avoid prying with bars, as this can damage the cylinder head. Gentle, even leverage is key.
- Remove Connector Tubes: If your engine has them, remove the connector tubes that link the fuel line to the injector.
For visual guidance, you can See an injector install with photos.
Step 3: How to Replace Diesel Injectors by Cleaning and Inspecting the Bores
A clean bore is essential for a proper seal and long injector life. Do not skip this step.
- Remove Old Copper Washer: Locate and remove the old copper sealing washer from the bottom of the bore. A flashlight and a small pick or magnet are helpful. Leaving it in will cause leaks.
- Inspect the Bore: Use a bright light to check the bore and sealing surfaces for any scoring, corrosion, or damage.
- Clean Out Carbon: Use specialized bore brushes and a carbon reaming tool to scrub away all carbon buildup. A clean, perfect sealing surface is required.
- Remove Debris: Vacuum out all loose debris, then use compressed air to blow the bore clean. Stuff a rag into the cylinder's intake port to prevent debris from entering the combustion chamber.
Learn more about the importance of cleanliness in our guide on How to clean common rail diesel injectors.
Step 4: Installing the New Injectors
With clean bores, you can now install the new injectors with precision.

- Lubricate O-Rings: Apply a thin coat of clean engine oil or petroleum jelly to the new O-rings to prevent tearing during installation.
- Install Copper Washer: Place the new copper washer onto the injector tip, ensuring it is seated flat.
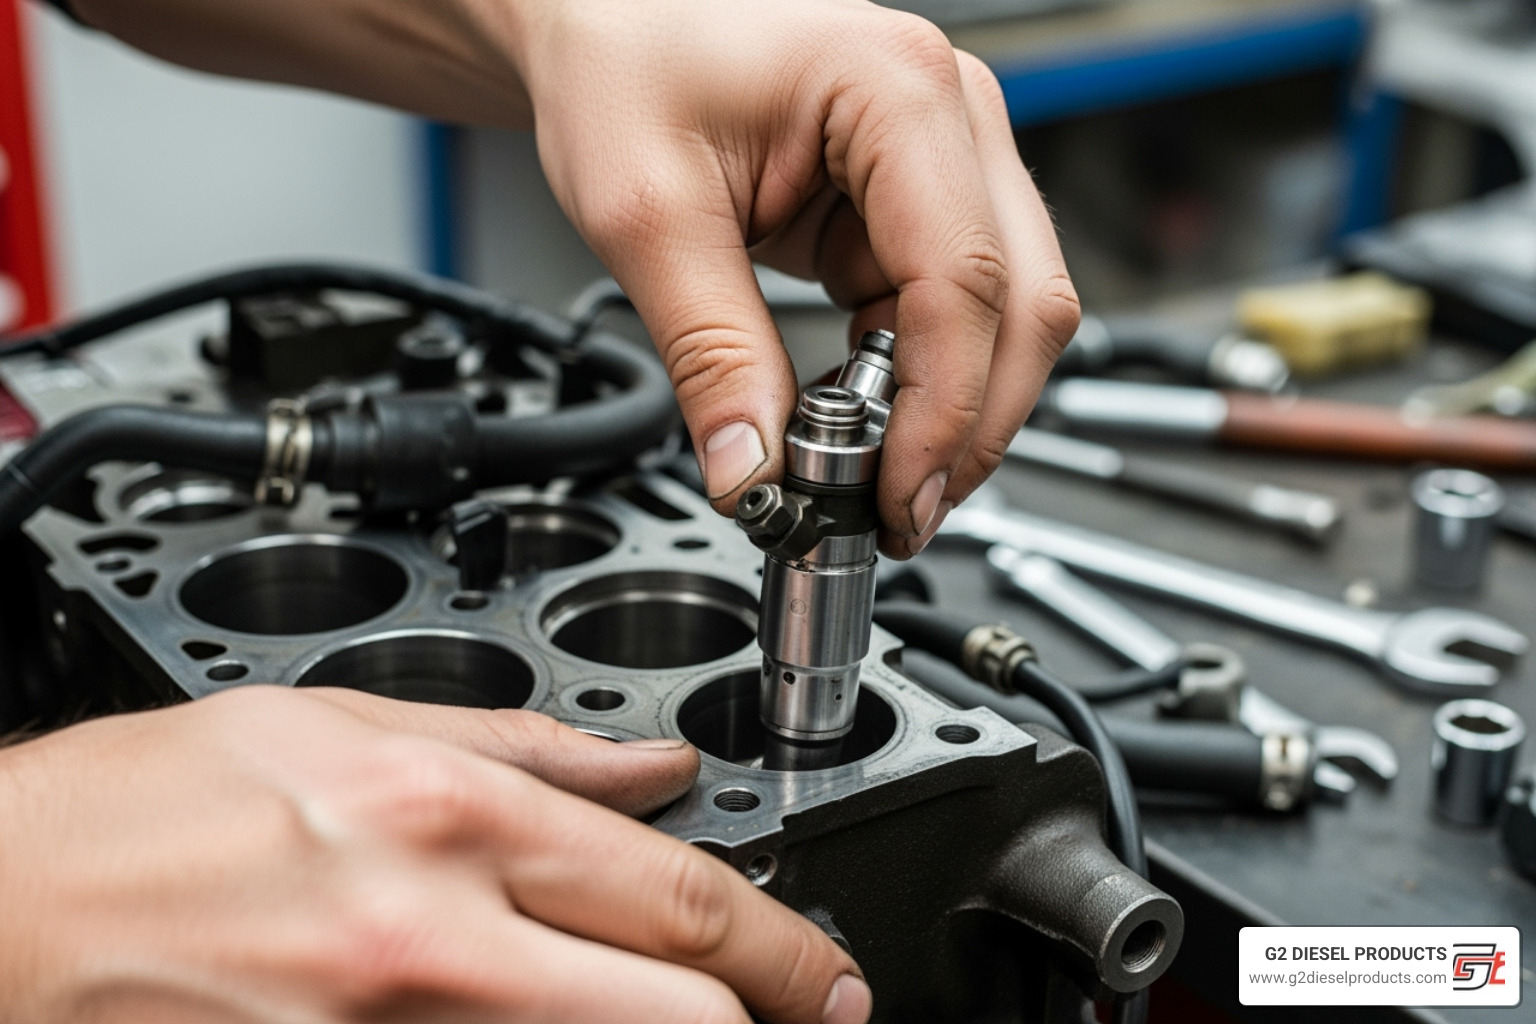
- Seat the Injector: Carefully slide the new injector straight into its bore. It should seat with a noticeable 'click' or 'snap' when fully installed.
- Install Hold-Downs and Tubes: Install the hold-down clamp and connector tube (if applicable), but only hand-tighten them for now to allow for final alignment.
Understanding How do common rail injectors work highlights why these precise steps are so important.
Step 5: Reassembly and Final Connections
Careful reassembly and correct torque values are critical for a leak-free, reliable repair.
- Torque Components: Using a calibrated torque wrench, tighten the injector hold-down clamps, connector tubes, and high-pressure fuel lines to the exact manufacturer specifications. Do not guess.
- Reconnect Electrical: Reconnect all electrical harnesses, ensuring each connector clicks securely into place.
- Reinstall Covers: Reinstall the valve covers, intake components, and engine covers, torquing all fasteners to spec.
- Final Inspection: Double-check every connection. Ensure all fuel lines are tight, electrical connectors are secure, and no tools are left in the engine bay.
For post-installation verification, consider our Diesel injector testing services.
Engine-Specific Considerations
While the general process of how to replace diesel injectors is consistent, different engine platforms have unique characteristics.
Common Rail Systems (Cummins, Duramax, Powerstroke, Volvo/Mack)
Common rail systems, found in most modern trucks including Volvo, Mack, Kenworth, and Paccar models, operate at pressures up to 30,000 PSI, demanding precision.
- Injector Location: The biggest variable is whether injectors are located under the valve cover (e.g., 24v Cummins, LB7 Duramax) or externally. Under-cover injectors require significantly more disassembly.
- Connector Tubes: These small bridges between the fuel line and injector are critical sealing components. They are often replaced with the injectors and have specific torque requirements.
- High-Pressure Fuel Lines: These rigid lines are bent to exact specifications. Handle them with care to avoid damage that could cause dangerous leaks.
- Injector Coding (Trim Codes): New injectors come with a unique code that must be programmed into the Engine Control Unit (ECU) with a scan tool. This step is mandatory for calibrating fuel flow and ensuring smooth engine operation.
For more details, see our guide on Diesel engine common rail systems.
HEUI Systems (7.3L & 6.0L Powerstroke)
HEUI (Hydraulic Electronic Unit Injector) systems, used in 7.3L and 6.0L Powerstroke engines, use high-pressure engine oil to actuate the injectors.
- Dual Systems: Mechanics must manage both high-pressure oil and fuel circuits.
- Oil Rail Removal: Accessing the injectors requires removing the high-pressure oil rail.
- Standpipes and Dummy Plugs: On 6.0L engines, these are critical oil system seals that are often replaced during an injector job.
- Under Valve Cover: Like some common rail engines, HEUI injectors are located under the valve covers, adding to the job's complexity.
Older Mechanical Systems
Pre-electronic diesel engines used simple mechanical injectors that operate on spring and fuel pressure alone.
- Simplicity: These systems have no electronics, wiring harnesses, or ECU coding.
- Accessibility: Injectors are typically mounted externally and are easy to access.
- Serviceability: While not recommended for modern injectors, some older mechanical units allow for nozzle-only replacement. Quality Diesel injector repair kits can help maintain these engines.
Best Practices for a Flawless Injector Replacement
Following these best practices ensures how to replace diesel injectors is done right the first time, preventing leaks, performance issues, and future failures.
The Importance of Extreme Cleanliness
In a high-pressure fuel system, cleanliness is not optional. The internal tolerances of a diesel injector are measured in microns, and a single speck of dirt can cause catastrophic failure.
- Prevent Contamination: The primary goal is to prevent any dirt or debris from entering the fuel system. Clean the engine bay before starting and work in a clean environment.
- Consequences of Dirt: Contamination leads to premature wear, clogged passages, and improper sealing, which can damage the new injectors, the fuel pump, and other components.
- Cap All Lines: Immediately cap any open fuel line or port with a clean plastic cap. This is a non-negotiable rule.
To maintain system health, consider using a quality Diesel fuel injector cleaner as part of your regular maintenance.
Why Torque Specifications are Non-Negotiable
Proper torque is essential for both safety and performance. Always use a calibrated torque wrench and follow the manufacturer's specifications.
- Prevent Leaks and Damage: Correct torque ensures a proper seal without stripping threads or distorting components. Over-tightening can crack fittings or even warp the injector body, rendering a new part useless.
- Dry vs. Lubricated Threads: Torque specs are typically for dry threads unless stated otherwise. Applying lubricant to a dry-torque fastener will result in over-tightening.
- Anti-Seize Warning: Do not use anti-seize on injector threads. It can lead to inaccurate torque readings and interfere with heat dissipation from the injector to the cylinder head, causing overheating and failure.
| Component | Torque Specification (Example - Cummins 5.9L) |
|---|---|
| Injector Hold-Down Bolts | 89 inch-pounds (alternate tightening) |
| Connector Tube | 11 foot-pounds |
| Fuel Lines | 22 foot-pounds |
Always consult your specific vehicle's service manual for exact values and sequences.
Post-Replacement Checks and System Priming
Final checks ensure the job is complete and the engine is ready for service.
- Prime the System: Most modern diesels have self-priming fuel systems. Cycle the key to the 'on' position a few times without starting the engine to allow the lift pump to prime the system and purge air.
- Check for Leaks: Start the engine and immediately inspect all connections with a bright flashlight. Address any fuel or oil leaks immediately.
- Clear Codes: Use a scan tool to read and clear any diagnostic trouble codes that may have been set during the repair.
- Test Drive: Perform a test drive to check for idle quality, throttle response, and power. Listen for any unusual noises and monitor the dashboard for warning lights.
- Monitor Performance: For the next few days, monitor engine performance and check the oil level for any signs of fuel dilution.
Frequently Asked Questions about Diesel Injector Replacement
Here are direct answers to the most common questions we hear about how to replace diesel injectors.
Should I replace all my diesel injectors at once?
Yes, we strongly recommend replacing injectors as a complete set. All injectors in an engine have operated under the same conditions and accumulated the same wear. If one has failed, the others are likely near the end of their service life. Replacing them all at once saves significant future labor costs and prevents a failing injector from causing secondary engine damage, such as a washed-out cylinder or diluted oil.
What are injector correction codes and do I need to program them?
An injector correction code (or trim code) is a unique alphanumeric code assigned to each modern common rail injector during manufacturing. This code tells the Engine Control Unit (ECU) the precise fuel flow characteristics of that specific injector, allowing the computer to make micro-adjustments for perfectly balanced performance.
Yes, you must program these codes into the ECU using a diagnostic scan tool after installation. Skipping this step will result in rough running, poor fuel economy, and potential engine trouble codes, as the ECU cannot properly control the new injectors.
Can I just replace the nozzle instead of the whole injector?
This depends entirely on the type of injector. For older mechanical injectors, nozzle-only replacement is sometimes a viable option. These simpler units were designed to be serviceable.
For modern common rail and HEUI injectors, the answer is no. These are highly complex, precisely calibrated units. The nozzle, solenoid, and body are all matched as an assembly. Attempting to rebuild one without a cleanroom environment and specialized calibration equipment will almost certainly lead to poor performance, leaks, and premature failure. For modern engines, always replace the entire injector with a new or professionally remanufactured unit.
Conclusion: Powering Your Engine with Confidence
Learning how to replace diesel injectors is a meticulous but rewarding task that restores engine performance and can save thousands in labor costs. Success hinges on three key principles: prioritizing safety, maintaining extreme cleanliness, and adhering strictly to procedures and torque specifications. By tackling this job with patience and precision, you ensure a reliable repair that will serve your fleet for many miles to come.
Promptly replacing failing injectors is not just a repair; it's an investment in engine longevity. It prevents the cascading problems a bad injector can cause, from oil contamination to catastrophic engine damage.
For replacement parts that meet or exceed OEM standards, you need a partner you can trust. G2 Diesel Products specializes in manufacturing high-quality diesel fuel injectors for Volvo, Mack, Kenworth, and Paccar trucks. Based in Harrisburg, PA, we are committed to innovation, offering reliable products with quick lead times and customer-specific packaging.
Quality injectors ensure long-term reliability, fuel efficiency, and the peace of mind that comes from knowing your engines are equipped to perform. Empower your fleet and drive with confidence.
Ready to get started? Explore our high-quality diesel fuel injectors to see the G2 Diesel Products difference, or Contact us for parts to keep your engines running strong.
